Setup the Raspberry
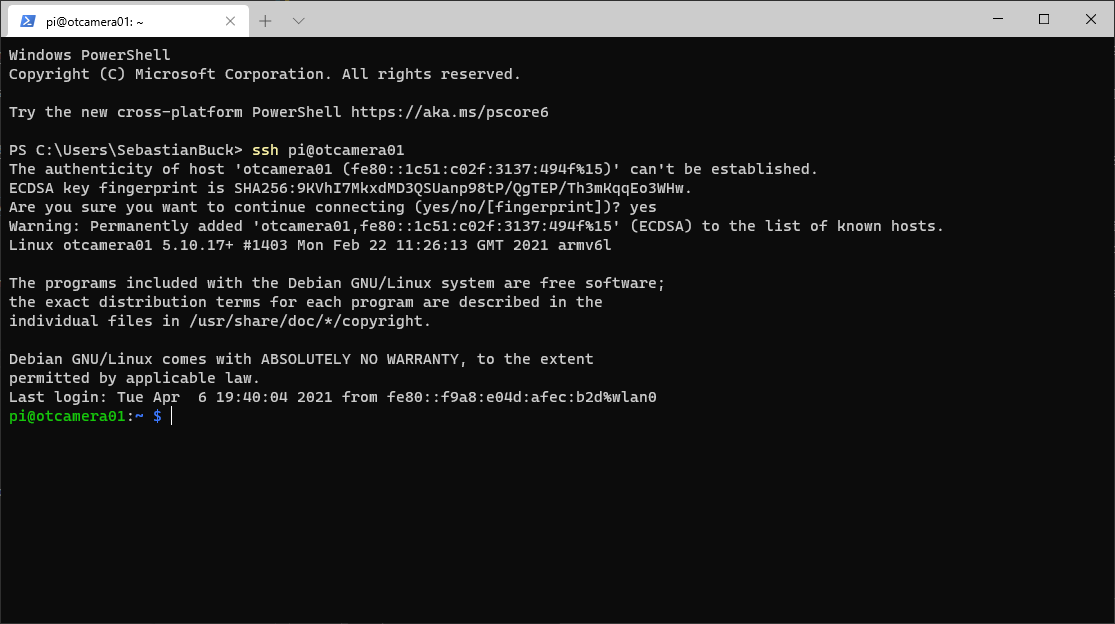
Now, take the SD-Card and insert it in the Raspberry. You can now boot the Pi on LAN or within your Wi-Fi by connecting it to the power supply. Try to connect to the Pi using a command-line or PowerShell:
ssh pi@otcamera01
If everything is setup correctly, you will be asked to add the host key to the list of known hosts (answer: yes) and you should be connected to your Raspberry Pi.
warning: agent returned different signature type ssh-rsa (expected rsa-sha2-512)
If you are on Windows you may need to update OpenSSH if you ar getting this error:
warning: agent returned different signature type ssh-rsa (expected rsa-sha2-512)
Warning
This guide should run on Windows 10 but you are modifying your system files. Please do not do anything you do not understand! Read the source for more information. We are not liable for any damage you may cause to your system. But we followed the steps ourselves and everything went well.
-
Download the latest OpenSSH for Windows release here. Depending on your Windows version it is probably
OpenSSH-Win64.zip. -
Open Windows Explorer and navigate to your Download folder. You should see the
OpenSSH-Win64.zip. Open an elevated PowerShell via File → Open Windows PowerShell → Open Windows PowerShell as administrator. -
If you copy and paste the following code, you will unzip OpenSSH and overwrite the system's default OpenSSH version.
# Overwrite windows installed bins
$openSshBins = (Get-ChildItem 'C:\WINDOWS\System32\OpenSSH\').Name
Expand-Archive -Path .\OpenSSH-Win64.zip -DestinationPath .
takeown.exe /a /r /f C:\Windows\System32\OpenSSH\
icacls.exe 'C:\Windows\System32\OpenSSH' /grant 'BUILTIN\Administrators:(OI)(CI)F'
icacls.exe 'C:\Windows\System32\OpenSSH' /grant 'BUILTIN\Administrators:F' /t
Stop-Service ssh-agent
$openSshBins | %{ Copy-Item -Path .\OpenSSH-Win64\$_ -Destination C:\Windows\System32\OpenSSH\ }
Start-Service ssh-agent
If you have successfully logged in now, we can configure the Raspberry Pi for OTCamera.
Update
Update the pi by running apt and reboot.
sudo apt update && sudo apt upgrade -y && sudo reboot
A new version of configuration file is available
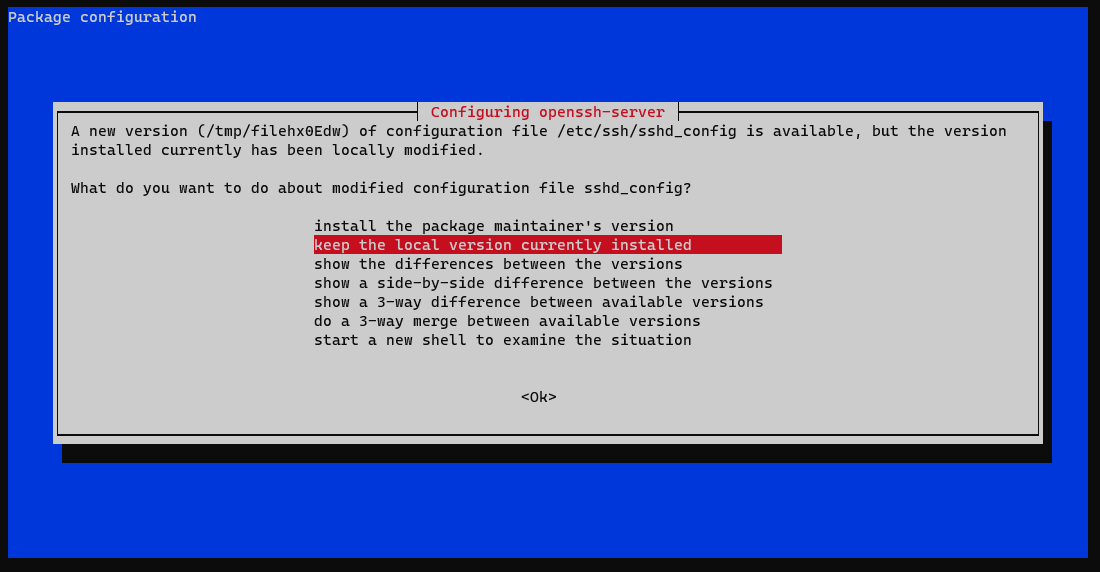
If you get this message, don't worry. Keep the local version currently installed, since we changed the ssh server configuration using the RPi Imager.
Raspi Config
Reconnect to your pi (open PowerShell and run ssh pi@otcamera01) and run the raspberry configuration tool.
sudo raspi-config
Change the following settings to appropriate values:
- System Options → Password (if not already done with Raspi Imager choose a new password for security reasons)
- Interface Options → I1 Legacy Camera → yes (since the new camera API is not supported by picamerax)
- Advanced options → GL driver → G1 Legacy (This may take a while, but saves a lot of energy.)
Setup without Raspberry Pi Imager
If you did not use the Raspberry Pi Imager, you will need to setup a few more things.
- System Options
- Hostname
- Localization Options
- Timezone (Europe/Berlin)
- WLAN Country (DE)
Exit the raspi-config selecting "Finish" and reboot the Pi afterwards.
Power Saving Options
After a reboot we also want to disable the HDMI output for additional power saving. CNX Software made some great power
measurements for some Raspberry Pis.
We'll need to add a specific line to the file /etc/rc.local in order to deactivate HDMI on every boot.
sudo nano /etc/rc.local
This opens the texteditor nano. We need to insert /usr/bin/tvservice -o in this file as highlighted below.
Additionally we'll insert sbin/iw dev wlan0 set power_save off to disable automatic Wi-Fi power saving since we'll deactivate it anyways as soon as we don't need Wi-Fi.
| /etc/rc.local | |
|---|---|
1 2 3 4 5 6 7 8 9 10 11 12 13 14 15 16 17 18 19 20 21 22 23 | |
Press Ctrl+X and Y and Enter to save the file and exit nano.
Additionally we will disable bluetooth and the camera and onboard LED's.
Edit /boot/config.txtto do so.
sudo nano /boot/config.txt
The config is quite long. We will add some lines (highlighted) at the end of the file:
| /boot/config.txt (end of file) | |
|---|---|
1 2 3 4 5 6 7 8 9 10 11 12 13 14 15 16 17 18 19 20 21 22 23 24 25 26 27 | |
Lines 22 to 27 define the default state of the GPIO pins. If you are using the OTCamera PCB, you want to add those lines. If you are not using it, you may want to adjust settings to your specific setup.
Rebooting the Pi activates the new settings.
sudo reboot